Table of Contents
VoIP Pedal
I use a pedal for when talking on Mumble and so on.
Normally I use the forward button on the mouse, because it's nearly always in reach no matter what you're doing.
However, if you're in the middle of typing. Or doesn't have your hand on the mouse, it's not that useful. Which is why I decided to make a pedal for it.
There's already pre-made versions of this, but I didn't think they were in a steady enough build. And they were all made of plastic and felt really cheap.
Which my solution, I can use whatever pedal I want! And it turns out, tattoo shops uses pedals to trigger their machine. So there's plenty of quality pedals out there.
And since I use scroll lock for binding (doesn't conflict with anything I've found), it shows an LED on the keyboard while talking. So I know it's on, in case my foot gets tired and push it on accident.
Hardware needed
- A pedal, obviously. Just search for “tattoo pedal” for best hits.
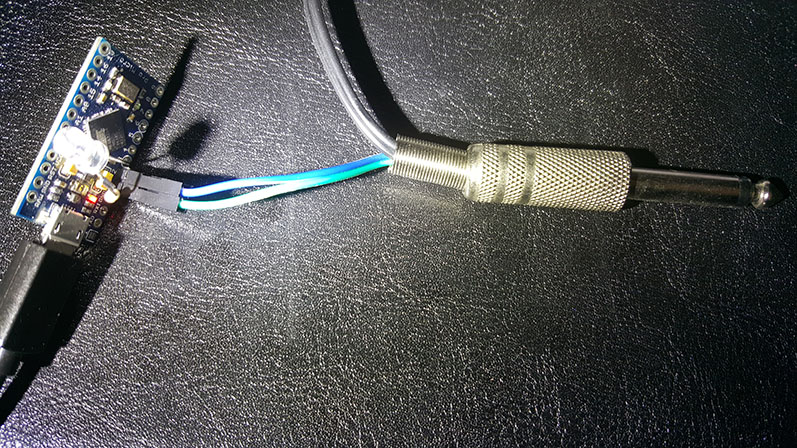
- Arduino with ATmega32U4 (I use this one, but there's plenty to choose from. If you're new, I will recommend Arduino Leonardo instead)
- USB cable might also be a good idea
- Optional: LED (with resistor), 6.3mm female mono jack (for easy pedal replacement)
I don't assume you need explaining on how to connect the things together..
When I searched a 6.3m female mono jack were too expensive, so I went with an other solution (just soldering wires directly onto every pedal)
Software
Using Arduino IDE, apply the following code.
char ctrlKey = KEY_LEFT_CTRL; // CTRL is used in this example, which might piss off people if you ctrl+c, ctrl+v a lot. So choose something else.

void setup() {
  pinMode(2, INPUT_PULLUP); // Pedal
  pinMode(3, OUTPUT); // LED

  Keyboard.begin();
}

void loop() {
  if (digitalRead(2) == HIGH) {
    Keyboard.releaseAll();
    digitalWrite(3, LOW);
    while (digitalRead(2) == HIGH) {
      delay(10);
    }
  } else {
    Keyboard.press(ctrlKey);
    digitalWrite(3, HIGH);
    while (digitalRead(2) == LOW) {
      delay(10);
    }
  }
}
The code above is not what exactly is on those I make for friends, but it is from my first prototype.
My top secret parts of the code uses scroll lock instead, and it turns scroll lock LED off again once released.
Known issues
- Scroll Lock LED sometimes gets stuck, when pressed REALLY FAST. Never gets stuck in the “off” position tho.
- Arduino Windows drivers seem to “disable” the keyboard function. Just change to Windows default driver to fix this (but then you can't program it, so you have to switch between those two).
- If your system turns down the voltage on the USB ports, it seems to mess with it. So it silently stops working (LED on arduino looks like everything is working!). Mostly happens if your computer sleep, but only 1 out of 10 times.
- It doesn't wake my computer if I press it. Might be a good thing, as it prevents accidents.


